Painting hockey lines on an ice rink is both an art and a science. Whether you manage an arena, operate a community rink, or maintain a private facility, understanding how to properly mark the ice is essential for meeting Hockey Canada regulations, ensuring player safety, and achieving a clean, professional look.
In this comprehensive guide, we break down the full process—from ice preparation to painting techniques, correct line measurements, and final sealing—based on industry best practices followed by Canadian rinks across the country.
Why Accurate Hockey Line Painting Matters
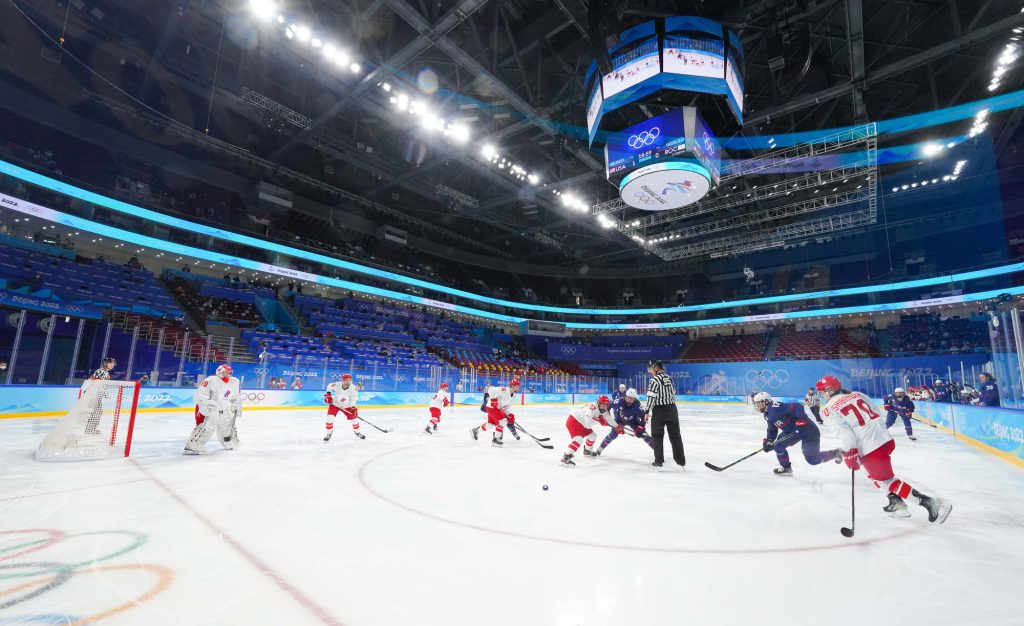
A hockey rink is more than just frozen water. Its markings determine gameplay, enforce rules, and create the professional appearance players and spectators expect. Properly painted lines:
- Ensure compliance with Hockey Canada and NHL-style standards
- Improve visibility for players, referees, and broadcasters
- Enhance the overall experience and professionalism of your facility
- Reduce the need for costly rework caused by bleeding, fading, or misalignment
Step-by-Step Guide: How to Paint Hockey Lines on an Ice Rink
Painting begins once a base layer of ice has been built—typically between 3/8″ to 1/2″ thick. Below is the full workflow used by Canadian ice technicians.
1. Build the Base Ice Layer
Before any paint touches the surface:
- Flood the rink with multiple thin layers of cold water using a hose or flooding boom.
- Maintain consistent freezing temperatures (ideally –7°C to –10°C for building ice).
- Continue until a smooth, uniform white base layer is formed.
At this stage, many arenas apply a white paint coat (titanium-based ice paint) to brighten the surface before adding ice lines.
2. Measure and Mark the Rink Layout
Accuracy is crucial. Use:
- Measuring tape or laser
- String lines
- Chalk or temporary marker paint
Key Hockey Canada Dimensions (Standard 200’ x 85’ Rink)
- Centre line: 12 inches wide, red
- Blue lines: Two lines, each 12 inches wide and 12 feet inside the neutral zone
- Goal lines: 2 inches wide, red
- Face-off circles: 30 feet diameter
- Face-off dots: 2 feet diameter
- Crease area: Light blue, semicircle shape
Mark these positions clearly before painting to avoid any errors.
3. Choose the Right Ice Paint
Canadian arenas typically use specialized ice paint formulated to bond to frozen surfaces. Avoid household or wall paint—it will not freeze properly.
Recommended Paint Types:
- Ice-specific latex paint
- Pre-mixed concentrated ice colourants
- Titanium white base paint
These paints are designed to freeze into the ice without cracking or separating.
4. Apply the Main Hockey Lines
Once the layout is set, start painting.
Centre Line (Red)
- Width: 12 inches
- Use a string guide or straight-edge painter
- Apply 1–2 coats for strong visibility
Blue Lines
- Width: 12 inches
- Colour: Royal Blue
- Ensure consistent edges—bleeding can happen if the ice is too warm
Goal Line
- Width: 2 inches, red
- Positioned 11 feet from the end boards
Face-Off Circles & Dots
- Circles: 30’ diameter, red
- Dots: 2’ diameter (4 in neutral zone are blue; offensive zone dots are red)
Goal Crease
- Colour: light blue
- Shape: 6-foot radius in front of the goal
Hash Marks & Lines
- Follow official measurements
- Use a narrow brush or hand roller for small sections
Tip: Most pros use stencils for circles, dots, and creases to maintain perfect geometry.
5. Logos and Custom Graphics (Optional)
Many Canadian arenas include:
- Minor hockey logos
- School or community branding
- Sponsorship graphics
These are usually printed on mesh materials or painted freehand before sealing.
6. Seal All Painted Lines with Thin Ice Layers
Once painting is finished:
- Apply several thin water sprays or floods to seal the paint.
- Do not over-flood—this may wash out colours.
- Continue building ice until reaching the desired thickness (usually 1 to 1.25 inches total).
This sealing process protects the artwork and keeps colours vivid all season long.
Common Mistakes to Avoid
Even professional rink crews can make errors. Watch out for:
- Painting on warm, soft ice (paint will bleed)
- Using the wrong paint (non-ice paint flakes)
- Poor measuring
- Flooding too heavily after painting
- Skipping the white base coat
Tools and Equipment You’ll Need
- Ice-specific paint
- Rollers or spray guns
- Paint carts with string guides
- Measuring tape and chalk lines
- Templates for circles and creases
- Water hoses and flooding booms
- Ice edger and resurfacer
How Long Does It Take?
For a standard community rink:
- Painting only: 4–6 hours
- Full process (ice building + painting + sealing): 2–3 days
Larger arenas or custom graphics may take longer.
Maintaining Painted Lines Throughout the Season
To keep lines crisp all winter:
- Resurface regularly
- Avoid shaving too close to painted layers
- Patch with paint if needed
- Maintain proper temperature and humidity
Final Thoughts
Painting hockey lines on an ice rink requires precision, quality materials, and knowledge of Hockey Canada standards. With proper preparation, accurate measuring, and professional sealing, your rink will look sharp and perform at a high level all season.
If you’re looking for professional rink line painting, maintenance, or ice installation services in Canada, DXU delivers expert results trusted by arenas across the country.

